Community
Custom Domain
Adding a custom domain couldn't be easier! In this guide, we'll run you through the basic steps of setting everything up.
Deciding what (sub)domain you want
The first thing you'll need to do is decide what domain you'll want to use. It's very likely that you'll want to use a subdomain, for example logs.thexyznetwork.xyz. That way you can keep things branded. You're able to use more than just subdomains though, you can use full domains, for example logs.xyz.
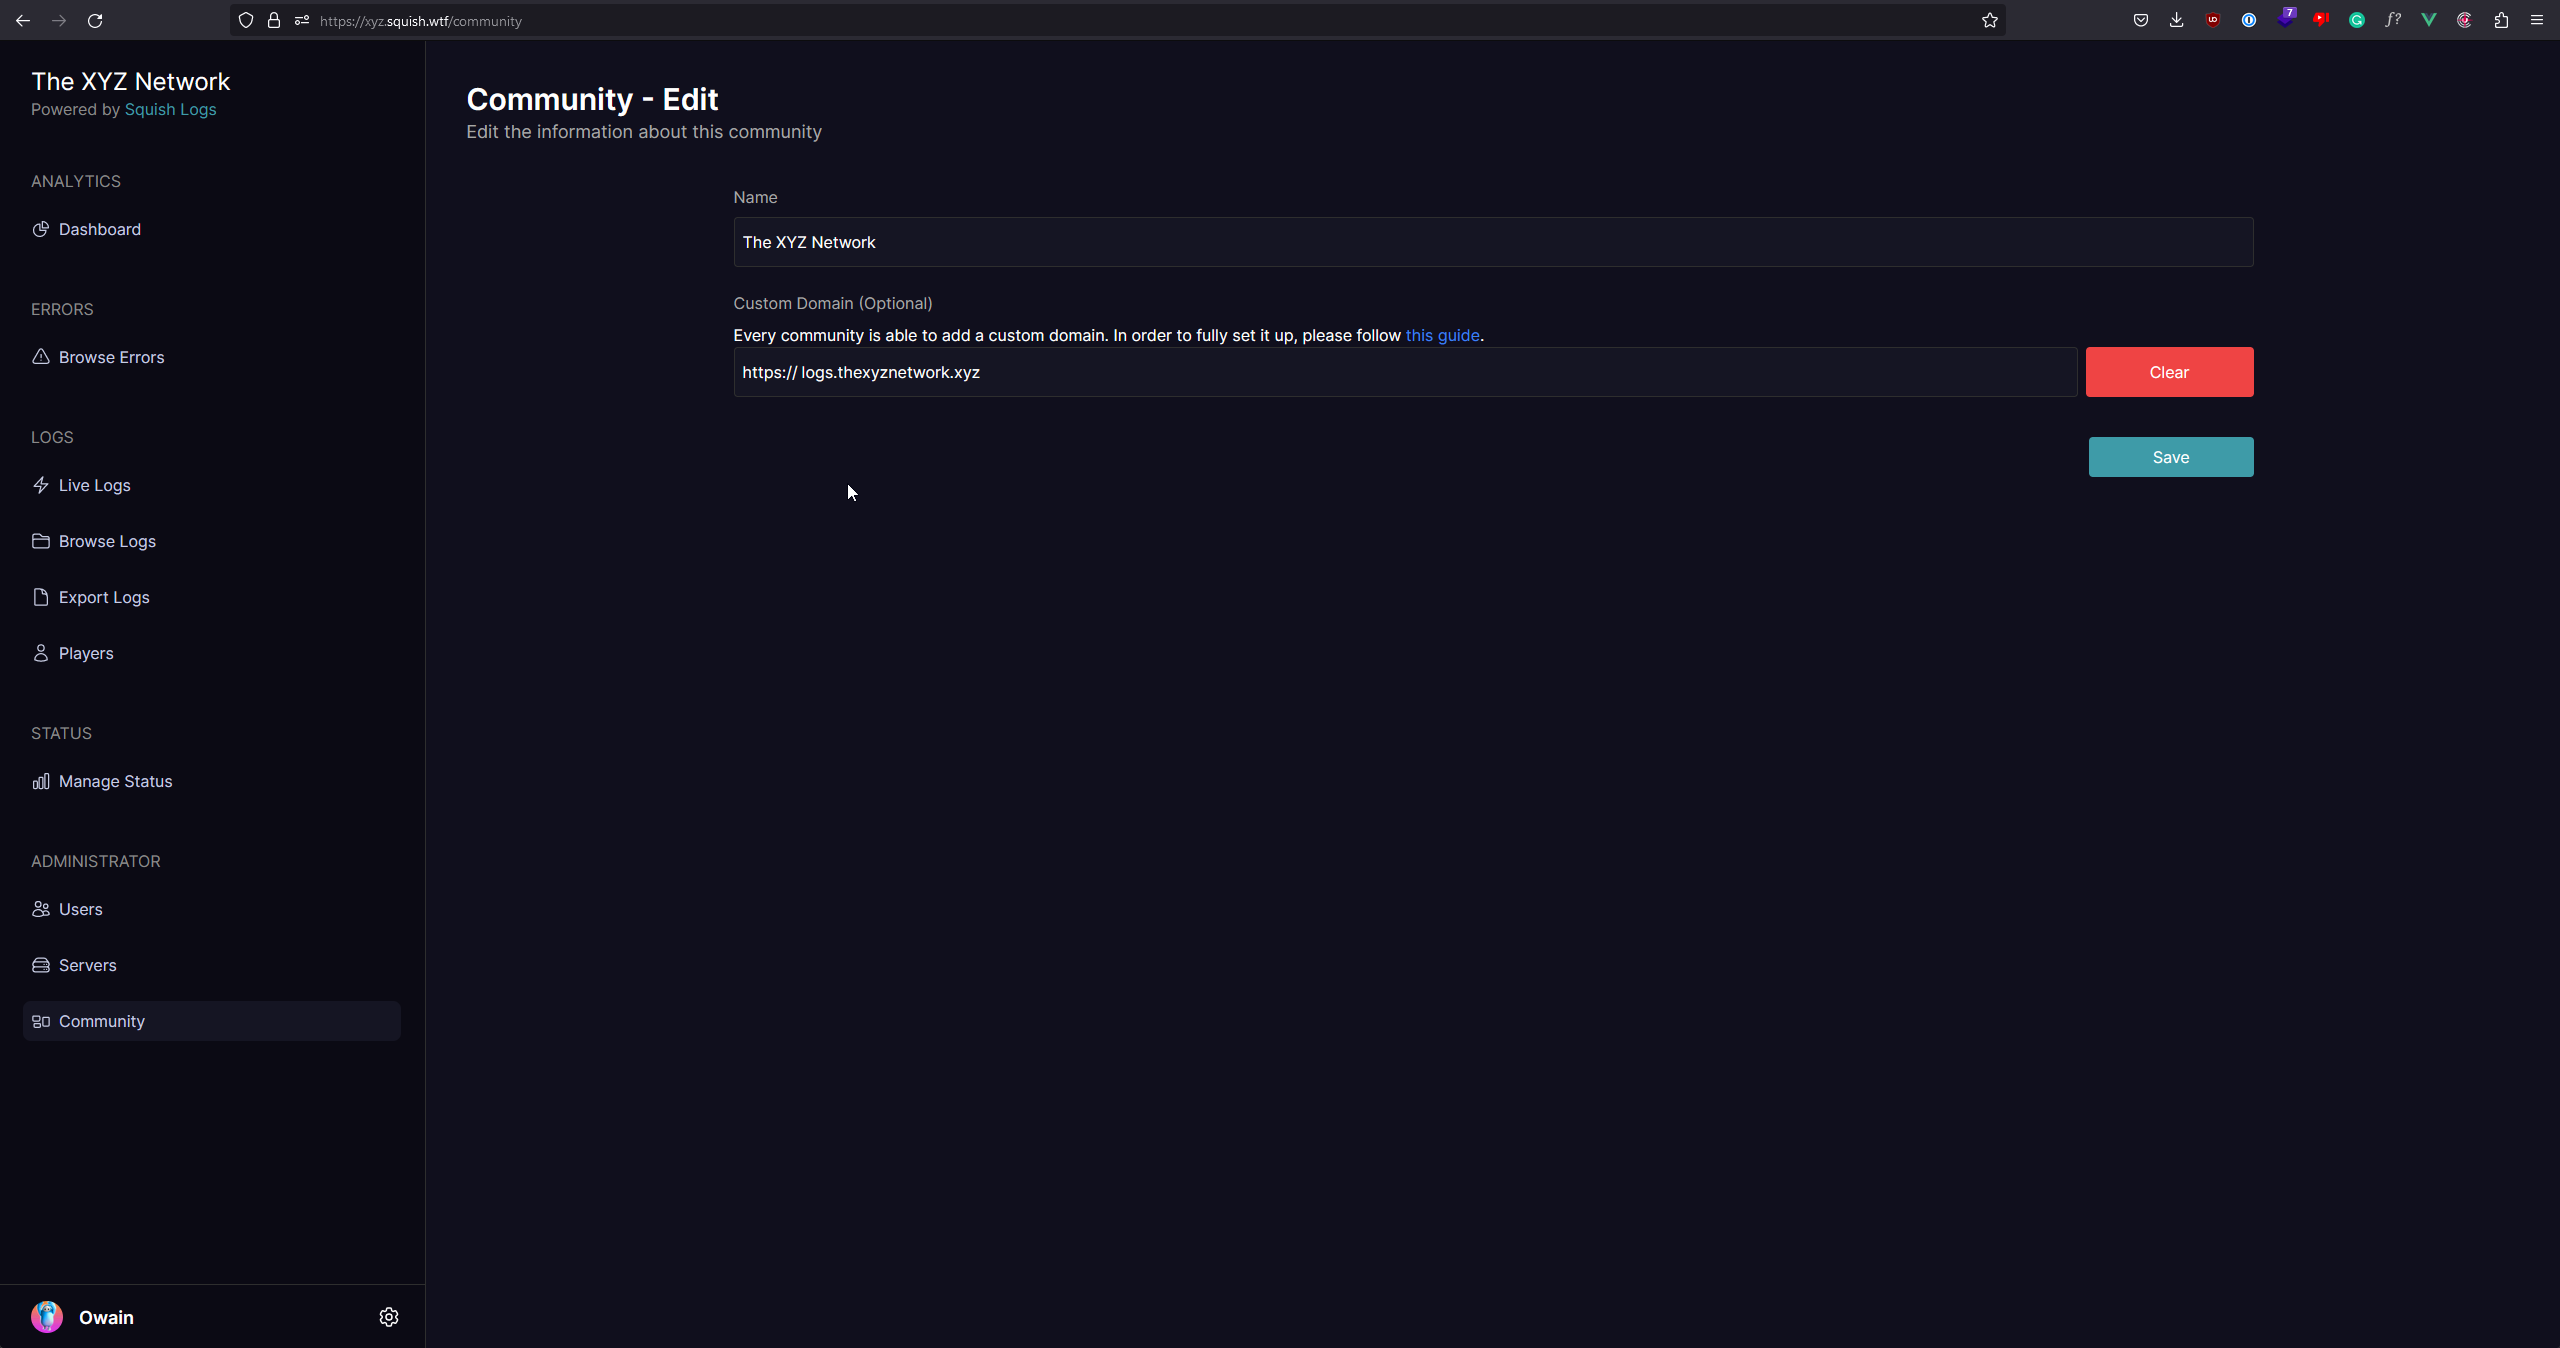
Linking your (sub)domain to your community
Now what you need to do is let us know what custom domain you're wanting to use. You can do this by heading to the "Community" section of your panel. There you will find an option to input a domain under "Custom Domain". Ensure that you put the raw domain, with no protocol or slashes at the end. For example logs.thexyznetwork.xyz. Then save your changes.
Pointing your (sub)domain to us
Now that we know what domain you want to link to your community, you need to point it to the Squish Logs service. In this guide, we will be assuming you're using CloudFlare. If you're not already using CloudFlare, we suggest you do so. If not, you will need to look at the panel of your domain manager to find where you can create DNS records.
Once you have accessed your DNS records, you will want to create a new CNAME record. The "Name" of this record would be the (sub)domain you set in the above step, and the "Target" should be the existing URL you're currently using to access Squish Logs. An example would be:
 This is all that needs to be set for your record.
Conclusion
You should now be able to access your panel through the new domain you have set. To check everything is working, try and log in. This should be all that is needed to set up a custom domain.